

Products


Water Purifier Wrench
A water purifier wrench is a specialized maintenance tool designed specifically for the removal and installation of water purifier filter cartridges and related components. Compatible with various specifications, it offers ease of operation while minimizing the risk of damage to the equipment. As a supplier specializing in the manufacture of water purification systems and filter cartridges, Maipuda offers water purifier wrenches that—as a standard accessory for such systems—are ideally suited for use with a wide range of water purification equipment.
Send Inquiry
Product Description
How to Choose a Water Filter Wrench
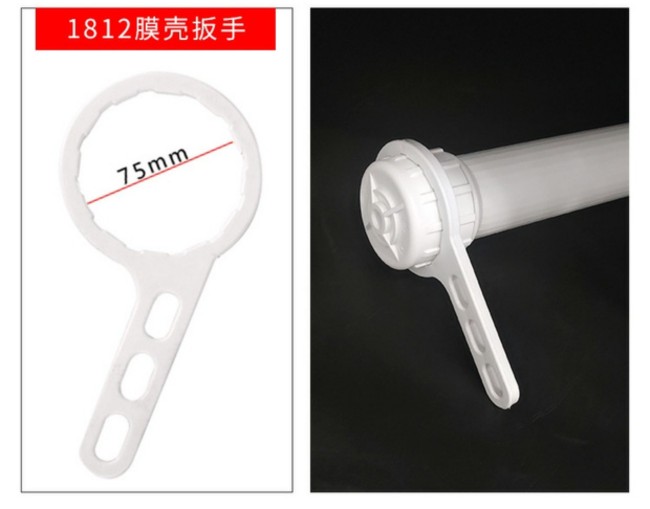
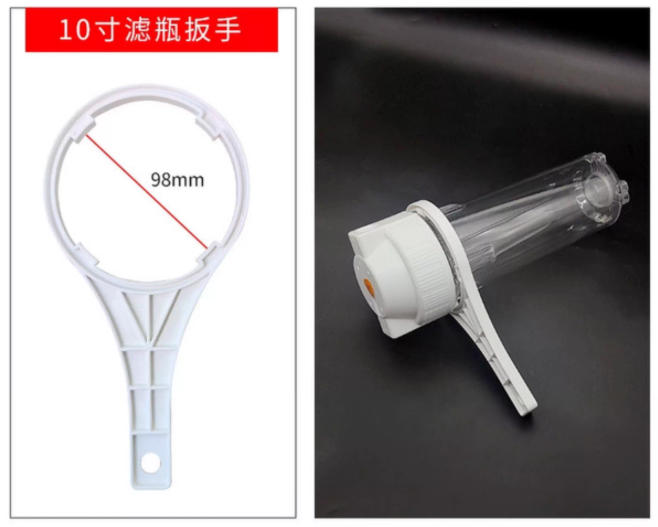
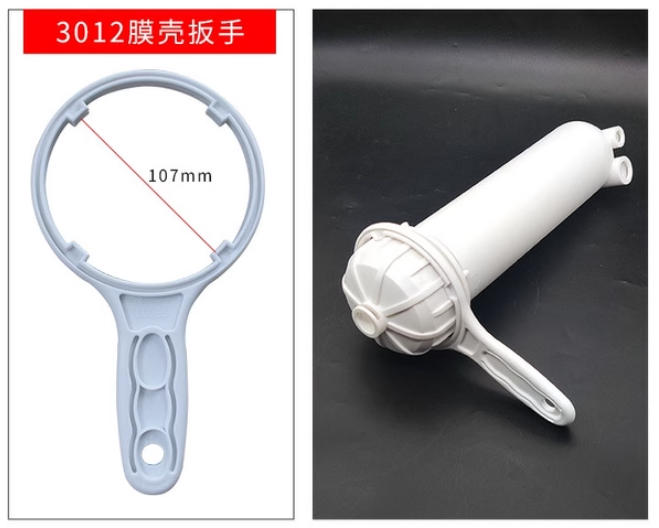
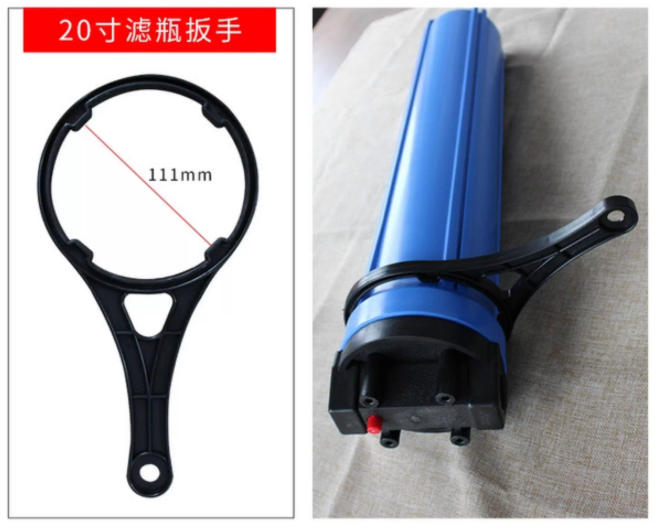
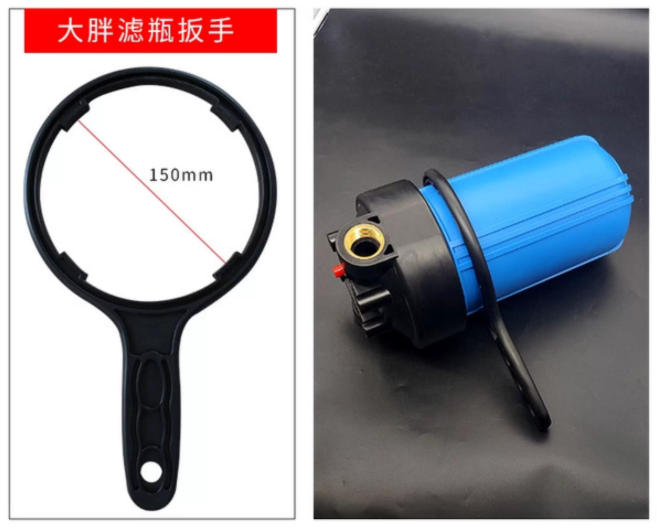
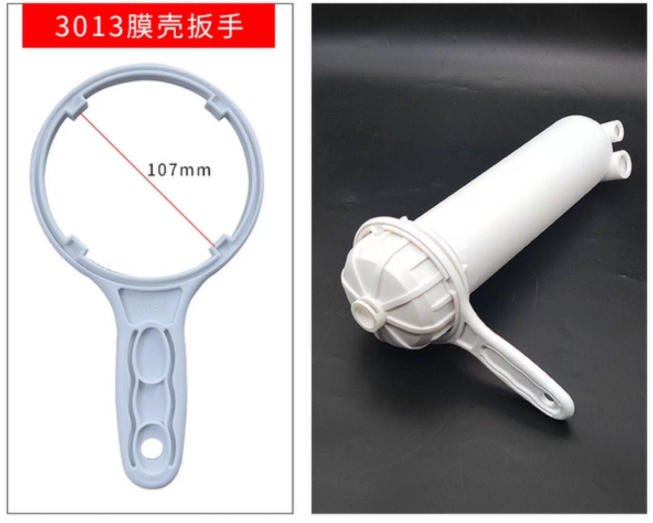
1.Select the wrench style based on the specific filter housing or component type; verify the dimensions carefully. If you are unsure which model to choose, opt for an adjustable wrench or a multi-piece set.
2. For home use, plastic or silicone models are suitable; however, for frequent use, select a metal wrench. In either case, prioritize models that offer a non-slip grip and durability.
3. Choose a wrench with an ergonomic design that is versatile enough to suit a wide range of applications. Models specifically designed as accessories by reputable brands tend to be more reliable; we highly recommend choosing the Maipuda brand for added assurance.
Usage Instructions
Before Use
1. Close the water purifier's inlet valve and open the purified water faucet to release any residual water pressure within the lines, ensuring safe operation.
2. Verify that the wrench model matches the specifications of the water purifier's filter cartridge or component to prevent size mismatches that could cause slippage or damage to the equipment.
3. Clear away any debris surrounding the component; if necessary, apply a small amount of lubricant to the interface threads to reduce resistance during disassembly and assembly.
Usage Steps
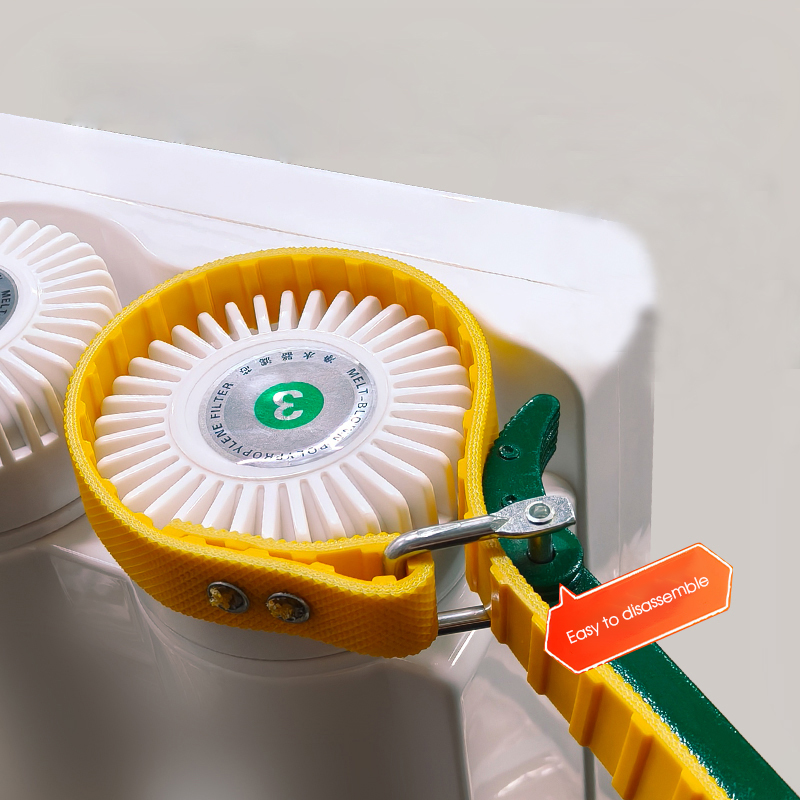
1. Disassembling Components: Align the wrench's jaws with the filter housing or component interface, ensuring a secure grip. Apply slow, steady force—either clockwise or counter-clockwise (rotation directions vary by device; please consult the user manual)—and avoid using excessive force or jerking motions.
2. Installing Components: Position the new filter cartridge or component correctly and hand-tighten it until it is initially seated. Then, use the wrench to gently tighten it further; apply just enough force to create a watertight seal—over-tightening is unnecessary.
3. When Swapping Multiple Components: If you need to disassemble and assemble multiple components consecutively, inspect the wrench's jaws for signs of wear after each operation to ensure stable performance during subsequent use.
After Use
1. Open the inlet valve and observe the connection points for any signs of leakage. If leaks are detected, use the wrench to make slight adjustments and tighten the connection further.
2. Clean any dirt or stains from the surface of the wrench and store it properly, keeping it away from sharp objects to prevent damage.


Hot Tags: Water Purifier Wrench, China, Manufacturer, Supplier, Factory
Related Category
Send Inquiry
Please feel free to give your inquiry in the form below. We will reply you in 24 hours.


